Easter Chocolate Bark Recipe
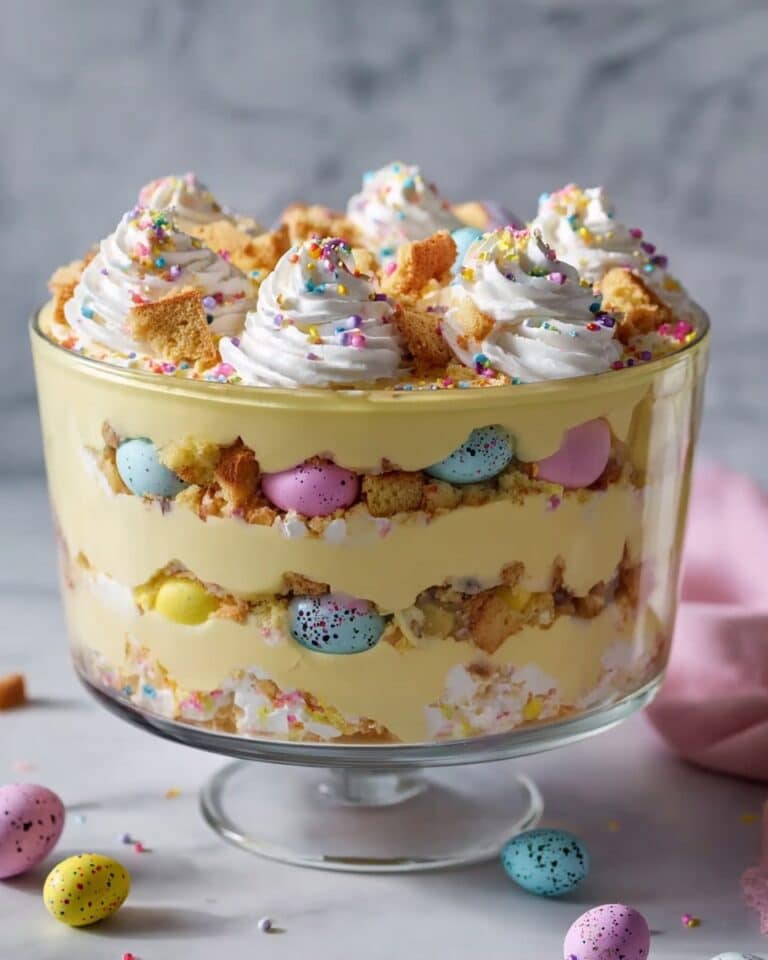
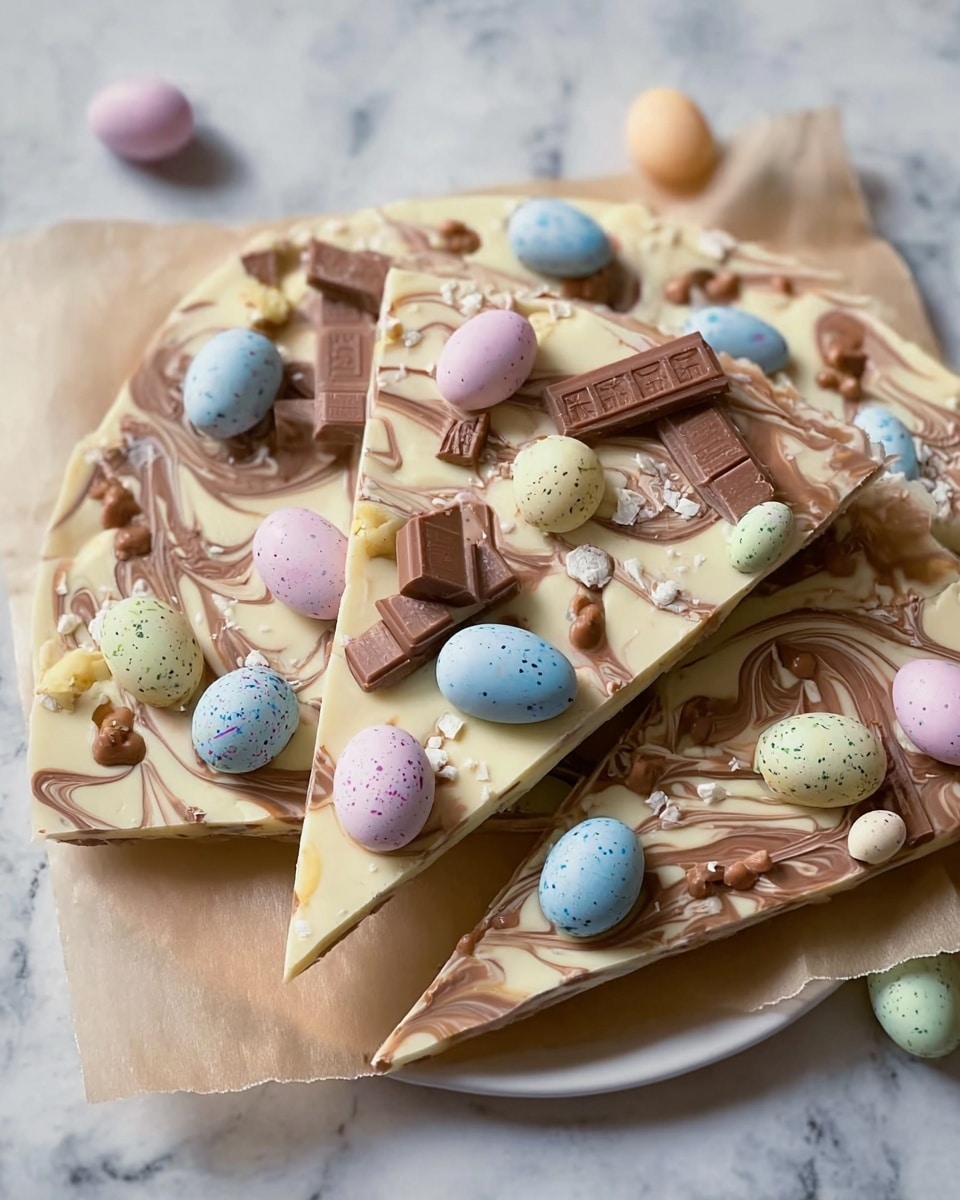
Picture this: rich, glossy chocolate melting slowly in your mouth, mingling with bursts of crunchy mini eggs and the playful crunch of pastel candies. The scent of sweet cocoa fills your kitchen, promising a delightful treat that’s as joyful to make as it is to eat. This Easter Chocolate Bark Recipe is the ultimate quick and easy way to celebrate the season with a homemade sweet that dazzles your guests and satisfies your craving for something both simple and stunning.
Why You’ll Love This Easter Chocolate Bark Recipe
- Ready in 30 minutes: From melting chocolate to breaking the bark, this recipe moves fast, perfect when you want a last-minute festive treat.
- Uses simple ingredients: With chocolate and your favorite Easter candies, the pantry staples are minimal, making it stress-free and budget-friendly.
- Perfect for beginners: No fancy tempering or baking skills required—just melt, spread, sprinkle, and chill.
- Impressive presentation: Vibrant pastel eggs and shimmering edible glitter turn this bark into a showstopper for holiday gatherings.
- Customizable: Swap toppings to suit tastes and dietary needs, making this bark truly your own creation.
Why This Easter Chocolate Bark Recipe Works
This recipe is all about letting the chocolate shine while inviting the charm of Easter-themed toppings to take center stage. The secret lies in gently melting the chocolate just until smooth, ensuring it remains glossy and silky for the perfect pour and even spread. Using parchment-lined trays guarantees easy release after chilling. Plus, adding toppings while the chocolate is still warm allows them to nestle in securely, so each bite delivers a delightful crunch balanced with creamy chocolate. It’s simplicity executed with care that makes this bark irresistibly good every time.
Ingredients You’ll Need
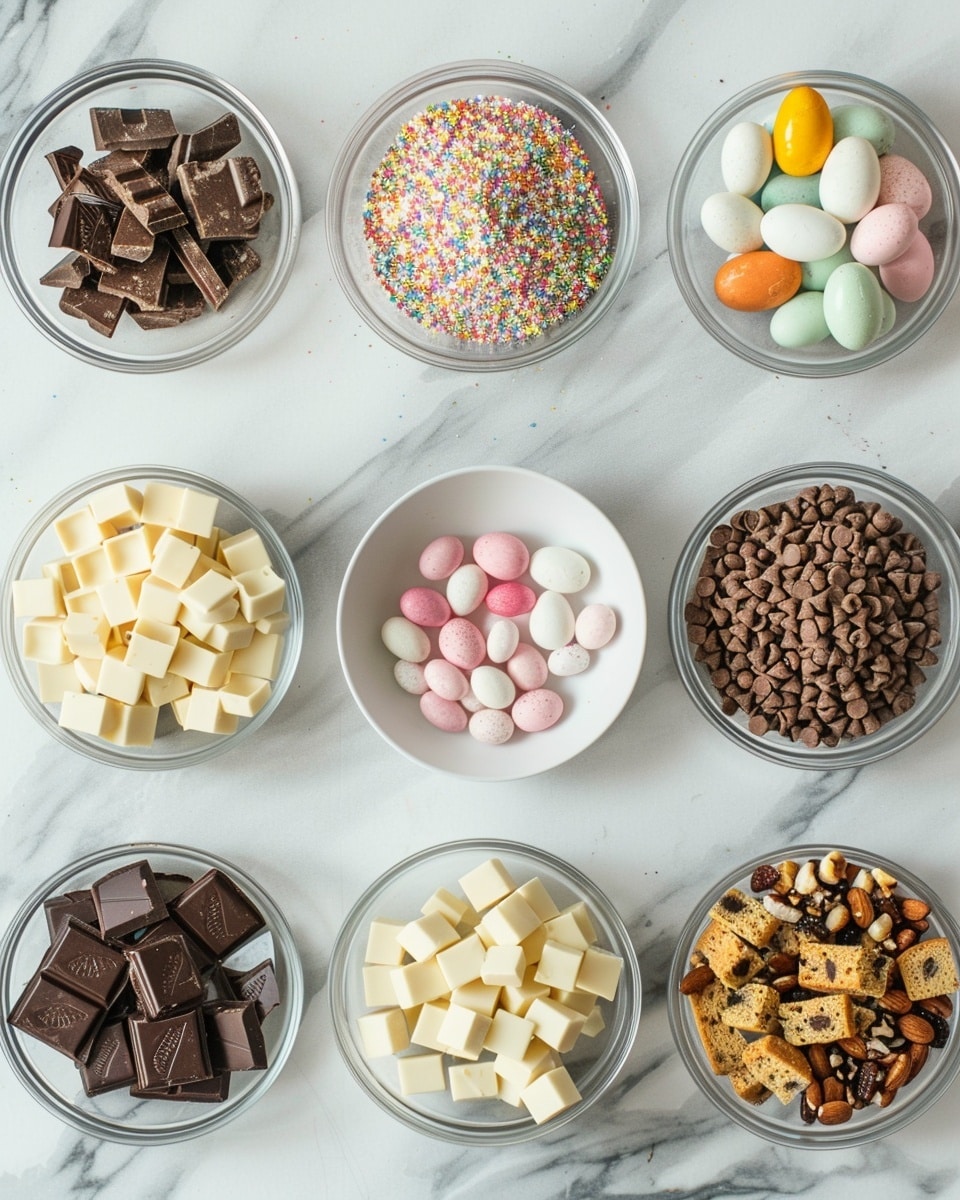
Gathering your ingredients is half the fun, especially when they’re so simple yet essential to this recipe’s success. Here’s what you’ll want on hand:
- Chocolate for the base: Choose milk, dark, white, or a mix to suit your flavor preference.
- Easter chocolates: Mini eggs, chocolate bunnies, and pastel candies add festive flavor and texture.
- Optional toppings: Sprinkles, crushed biscuits, nuts, dried fruit, or edible glitter turn your bark into an eye-catching masterpiece.
Ingredient Substitutions & Tips
- Chocolate base: Swap for vegan or sugar-free chocolate to accommodate dietary needs.
- Easter chocolates: Use seasonal fruit pieces or nuts if you want to avoid extra sweetness.
- Optional toppings: Substitute with seeds like pumpkin or sunflower for a nutritious crunch.
- Edible glitter: Replace with shredded coconut for a natural, sparkly touch.
👨🍳 Pro Tips for Perfect Results
- Choose quality chocolate: It melts better and tastes richer, so it’s worth the investment.
- Melt gently: Use short bursts in the microwave or a double boiler to avoid burning the chocolate.
- Even spreading: Use a spatula to create an even layer for consistent thickness and setting.
- Press toppings lightly: This helps them stick without sinking into the chocolate.
- Chill fully: Don’t rush the setting process to maintain a firm, glossy finish.
How to Make Easter Chocolate Bark Recipe
Step 1: Prepare Your Workspace
Start by lining a baking tray with parchment paper. This simple step makes removing your bark a breeze and keeps the chocolate from sticking. Having everything ready now sets you up for smooth sailing as the chocolate melts.
💡 Pro Tip: Use a tray with sides to prevent chocolate from spilling over, keeping your workspace tidy.
Step 2: Melt the Chocolate Gently
Break your chosen chocolate into small chunks and melt it either in the microwave using short 20-second bursts stirring in between, or over a double boiler. The goal is a silky smooth texture without scorching the chocolate.
💡 Pro Tip: Stir frequently to encourage even melting and avoid overheating, which can ruin the texture.
Step 3: Spread the Chocolate
Pour your melted chocolate onto the parchment paper and use an offset spatula or the back of a spoon to spread it evenly to your desired thickness. This is your canvas for all the colorful toppings to come.
💡 Pro Tip: Aim for about 1/4 inch thick so the bark is firm but still easy to break into bite-size pieces.
Step 4: Decorate While Warm
Scatter your Easter chocolates and preferred toppings generously over the surface while the chocolate is still warm. Press them lightly so they stick without sinking or falling off once set.
💡 Pro Tip: Play with textures and colors here—think crunchy mini eggs, shiny pastel candies, and a dusting of edible glitter for sparkle.
Step 5: Chill Until Set
Pop your tray into the fridge for 20 to 30 minutes. This cooling time lets the chocolate harden to a glossy, satisfying snap. Once firm, break it apart into rustic, gorgeous pieces to share or snack on yourself.
💡 Pro Tip: Chill it on a flat surface for an even set and avoid condensation by keeping it covered.
Common Mistakes to Avoid
Learn from these common pitfalls:
- Burning the chocolate: Chocolate burns easily if overheated, causing it to seize or taste bitter.
- Spreading too thick or thin: Too thick makes it hard to break; too thin can result in pieces that snap too hard or break prematurely.
- Adding toppings after chocolate cools: They won’t stick properly and can fall off.
- Not using parchment paper: Makes cleanup difficult and risks ruining the bark when removing it from the tray.
- Rushing the chilling: If not fully set, the bark can melt or lose shape when broken.
- Mixing incompatible chocolates: Combining different chocolates greatly varying in temper can cause uneven texture or bloom.
Delicious Variations to Try
Once you’ve mastered the classic Easter Chocolate Bark Recipe, try these fun twists to keep delighting your taste buds:
Peanut Butter Swirl Bark
Swirl creamy peanut butter into your melted milk chocolate before spreading for a luscious, nutty twist.
Tropical Bark
Top with dried pineapple, toasted coconut flakes, and macadamia nuts to transport your taste buds to an island getaway.
Berry & Nut Bark
Add freeze-dried strawberries, dried cranberries, and toasted almonds for a tart and crunchy contrast.
Minty Delight
Mix crushed peppermint candies or add a few drops of peppermint extract to dark chocolate for a refreshing holiday treat.
Salted Caramel Crunch
Drizzle caramel sauce and sprinkle flaky sea salt and crushed toffee bits for a decadent, indulgent bark.
How to Serve Easter Chocolate Bark Recipe
Garnishes
Fresh edible flowers, a light dusting of powdered sugar, or a sprinkle of colorful nonpareils can elevate the look and add extra festivity.
Side Dishes
Pair your chocolate bark with fruity sorbets, creamy vanilla ice cream, or a robust cup of coffee to balance the sweet richness.
Creative Ways to Present
Wrap pieces in cellophane tied with pastel ribbons for charming gifts, or serve on a rustic wooden board surrounded by spring blossoms for stunning party display.
Make Ahead and Storage
Storing Leftovers
Keep your Easter Chocolate Bark in an airtight container at room temperature for up to a week. Store in a cool, dry place away from sunlight to preserve the glossy finish.
Freezing
Wrap pieces tightly in parchment and freeze in an airtight container for up to three months. Thaw at room temperature before serving to avoid condensation.
Reheating
This bark is best enjoyed cold or at room temperature. Avoid reheating as it can cause the chocolate to lose texture and melt unevenly.
FAQs
Can I use any type of chocolate for this bark?
Yes! Milk, dark, white, or a combination all work beautifully. Just choose good quality chocolate for the best flavor and texture.
Do I need to temper the chocolate?
Tempering isn’t necessary for this recipe since you’re chilling the bark; it will set nicely without that step.
What if I don’t have Easter-themed candies?
No worries! Use any candies, nuts, or even dried fruits you love to customize your bark.
How thick should I make the bark?
About 1/4 inch thick is ideal—thick enough to hold toppings but not so thick it’s difficult to break.
Can I freeze the chocolate bark?
Absolutely. Just wrap it well and store in the freezer for up to three months.
Why is my chocolate dull or streaky?
This could be due to overheating or improper storage. Melting gently and chilling quickly helps keep the sheen.
Can I make this recipe nut-free?
Yes! Simply skip nuts and be mindful of toppings that may contain allergens.
How long does the bark keep at room temperature?
Stored in an airtight container away from heat and humidity, it will stay fresh for about a week.
Final Thoughts
Making this Easter Chocolate Bark Recipe feels like wrapping springtime itself in every bite—a joyful explosion of chocolate and colorful candies that brings smiles and sweet memories. It’s delightfully simple, endlessly customizable, and perfect for every skill level standing in your kitchen. The best part? Sharing it with loved ones and watching their faces light up with every crunchy, creamy morsel.
Have you tried this Easter Chocolate Bark Recipe? I’d love to hear how it turned out! Leave a comment below. If you loved this recipe, please share it with friends and family. Happy cooking! 🍫🌸
PrintEaster Chocolate Bark Recipe

Create a delightful and customizable Easter Chocolate Bark using your favorite types of chocolate and festive Easter-themed toppings. This easy no-bake treat combines melted chocolate with colorful candies and optional nuts or sprinkles, making it perfect for holiday celebrations or gifting.
- Prep Time: 10 minutes
- Cook Time: 5 minutes
- Total Time: 35 minutes
- Yield: Serves 6-8 1x
- Category: Dessert
- Method: No-Cook
- Cuisine: Western
Ingredients
Chocolate Base
- 200g milk, dark, white, or mixed chocolate
Easter Toppings
- Mini chocolate eggs, chocolate bunnies, or pastel candies (quantity to preference)
Optional Toppings
- Sprinkles (as desired)
- Crushed biscuits (as desired)
- Chopped nuts (as desired)
- Dried fruit (as desired)
- Edible glitter (as desired)
Instructions
- Prepare the tray: Line a baking tray with parchment paper to create a non-stick surface for your chocolate bark.
- Melt the chocolate: Gently melt the chocolate by microwaving in short bursts, stirring between each interval to ensure smooth, even melting. Alternatively, use a double boiler to melt the chocolate slowly without burning.
- Spread the chocolate: Pour the melted chocolate onto the prepared baking tray and use a spatula to spread it evenly into a thin layer.
- Add toppings: While the chocolate is still warm and soft, sprinkle your choice of Easter chocolates and optional toppings evenly over the surface. Lightly press them into the chocolate so they stick well.
- Chill to set: Place the tray in the refrigerator and allow the chocolate bark to chill for 20 to 30 minutes until completely firm.
- Break into pieces: Once set, remove from the fridge and break the bark into rustic pieces by hand or slice with a knife as preferred.
Notes
- Choose your favorite chocolate types or mix them for varied flavor and color.
- Feel free to customize toppings based on availability and preference—nut allergies should be considered.
- If using the microwave, melt chocolate in 20-30 second bursts to avoid burning.
- Store chocolate bark in an airtight container in the fridge to keep it fresh and prevent melting.
- This recipe is very flexible, so adjust ingredient quantities to your taste and desired batch size.
Keywords: Easter chocolate bark, no-bake chocolate dessert, holiday treat, chocolate recipe, festive candy bark