Traditional Thumb Bars Recipe
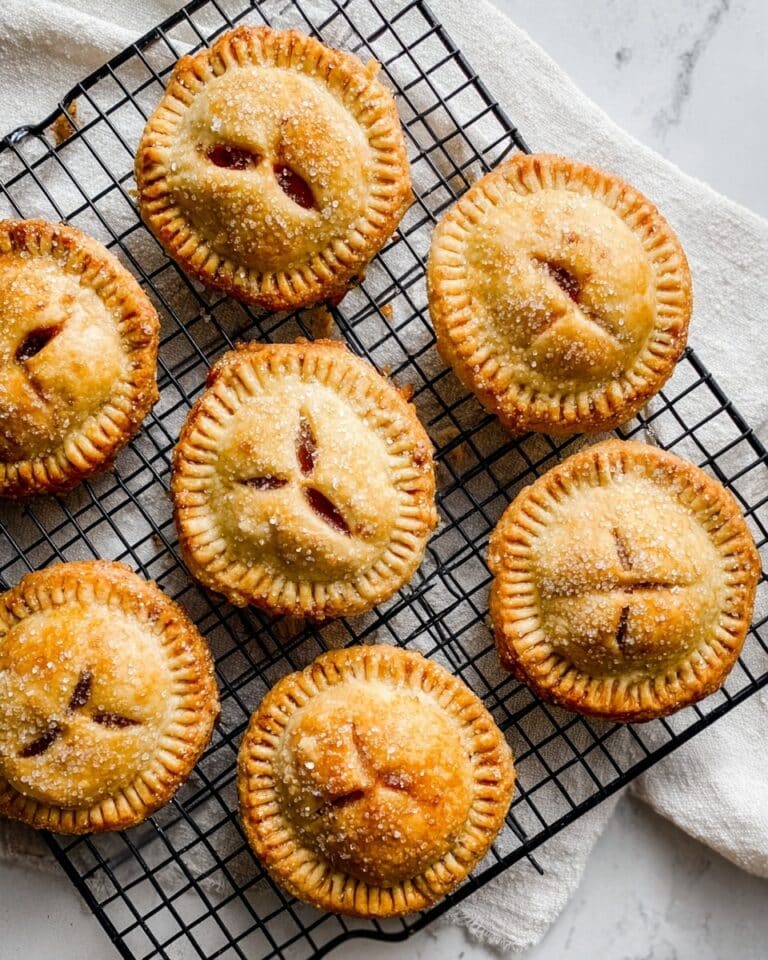
Picture this: The warm, buttery scent of freshly baked shortbread filling your kitchen, mingling with the sweet, tangy aroma of raspberry jam bubbling gently beneath a golden, crumbly topping. As you take that first bite of this charming bar, your teeth sink into a tender crust, followed by a dreamy burst of fruit sweetness and a satisfyingly crumbly finish. This Traditional Thumb Bars Recipe is like stepping into a cozy grandmother’s kitchen, where every bite tells a story of comfort, nostalgia, and simple joys. It’s quick, straightforward, and always impressive—making it the perfect treat whether you’re baking for everyday smiles or special celebrations.
Why You’ll Love This Traditional Thumb Bars Recipe
- Ready in about an hour: From mixing to cooling, this recipe fits perfectly into a busy day without feeling rushed.
- Uses simple ingredients: Pantry staples like butter, sugar, and your favorite jam come together to create something truly magical.
- Perfect for beginners: No fancy techniques needed—just straightforward steps that deliver big flavor.
- Impressive presentation: Golden crumb topping with vibrant jam peeking through makes these bars irresistibly inviting.
- Customizable: Swap jams to tailor the bars to your taste or the season—raspberry, apricot, strawberry, and beyond.
Why This Traditional Thumb Bars Recipe Works
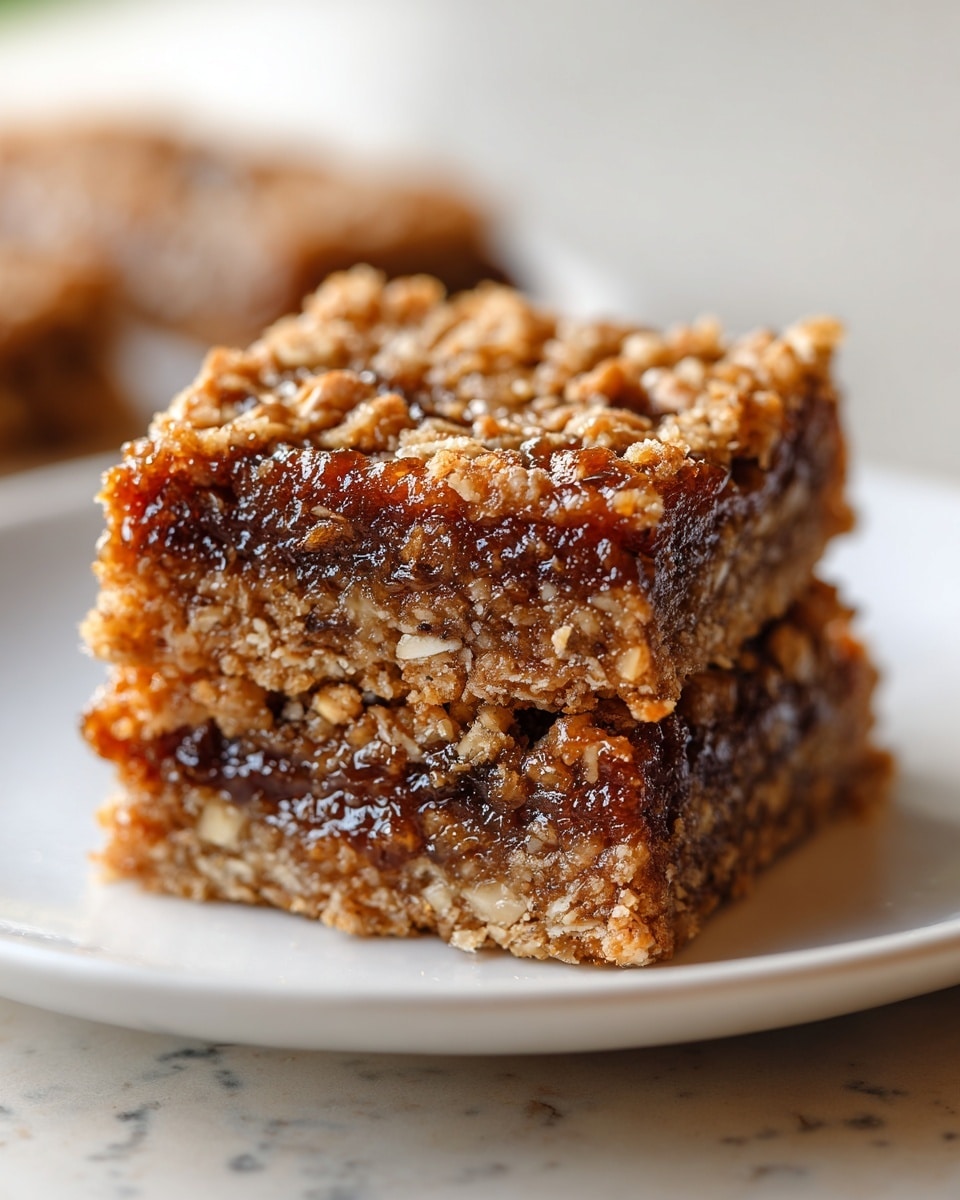
This Traditional Thumb Bars Recipe shines because of balance and technique. The buttery, tender shortbread base is what gives these bars their melt-in-your-mouth quality, achieved by creaming softened butter and sugar until luxuriously fluffy. Adding a touch of almond extract alongside vanilla offers a subtle depth of flavor that feels both familiar and a little special. The generous layer of thick jam serves as a sweet yet tangy counterpoint to the buttery crust, while the crumbly topping adds the perfect textural contrast. Baking until just golden ensures the bars remain soft and delicate, never dry or overbaked. All these elements dance perfectly together to create a timeless treat.
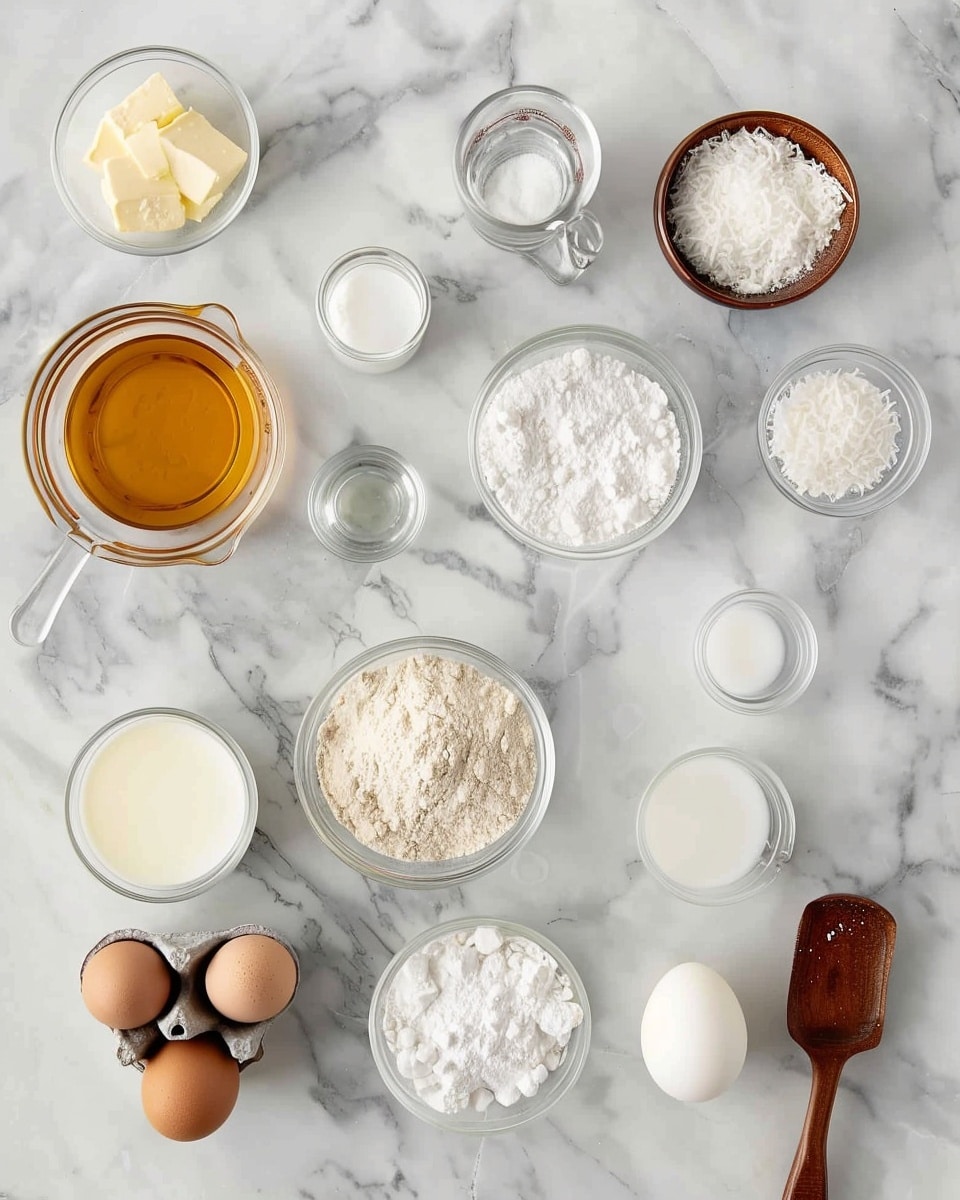
Ingredients You’ll Need
This recipe keeps things refreshingly simple with a handful of essential ingredients you likely have already, ensuring the focus stays on quality and comfort.
- Unsalted butter: Softened for easy creaming and rich, creamy flavor.
- Granulated sugar: Adds sweetness and helps with that tender crumb texture.
- Vanilla extract: Infuses a warm, fragrant note into the dough.
- Almond extract (optional): Classic addition that enhances the nutty undertones.
- Large egg: Binds the dough and adds richness.
- All-purpose flour: The sturdy foundation of the shortbread crust and crumb topping.
- Salt: Balances sweetness and heightens the flavors.
- Thick fruit preserves or jam: The star of the filling layer; raspberry, apricot, strawberry, or mixed berry are perfect.
Ingredient Substitutions & Tips
- Unsalted butter: Use salted butter if that’s what you have, but reduce added salt slightly.
- Granulated sugar: Light brown sugar can add a subtle molasses note and moisture for a twist.
- All-purpose flour: For a gluten-free version, substitute with a 1:1 gluten-free baking flour blend.
- Jam: In a pinch, marmalade or even a fruit curd can create a delightful variation.
👨🍳 Pro Tips for Perfect Results
- Use room temperature butter: It creams more easily with sugar, creating a light, tender dough.
- Don’t overmix the dough: Just combine the flour until you see a soft dough to keep the bars tender, not tough.
- Choose thick jams: Thin jams can make the crust soggy; thicker preserves hold up better during baking.
- Line your pan with parchment: This helps you lift the bars out easily for neat slicing.
- Cool completely before cutting: Warm bars may crumble too much when sliced, and the filling can be messy.
How to Make Traditional Thumb Bars Recipe
Step 1: Preheat and Prep
Start by preheating your oven to 350°F (175°C) and lining an 8×8-inch baking pan with parchment paper. The parchment should hang over the edges to make lifting the bars out a breeze once baked.
💡 Pro Tip: Gently grease the parchment with butter or spray to ensure even easier release.
Step 2: Cream Butter and Sugar
In a large bowl, beat the softened butter and granulated sugar until the mixture is light, fluffy, and pale. This step incorporates air into the dough, giving you that buttery, tender texture that’s signature to thumb bars.
💡 Pro Tip: Use an electric mixer for best results, but a vigorous whisk plus some elbow grease can work in a pinch!
Step 3: Add Flavorings and Egg
Mix in the vanilla extract, almond extract (if using), and egg into your creamed butter and sugar. Make sure the ingredients are well-combined and smooth—this flavor foundation will make the bars sing.
💡 Pro Tip: Sniff the batter here; that almond note combined with vanilla will delight your nose.
Step 4: Incorporate Dry Ingredients
Sprinkle in the all-purpose flour and salt, and gently stir until a soft dough just begins to form. Avoid overmixing; you want the dough tender, not tough.
💡 Pro Tip: Using a flexible spatula to fold in the flour helps prevent overworking the dough.
Step 5: Press the Base Layer
Reserve about two-thirds of the dough and press it evenly into the bottom of your prepared pan, creating a smooth base for that luscious jam filling.
💡 Pro Tip: Use the back of a measuring cup or your fingers lightly floured for a perfectly even crust.
Step 6: Spread the Jam
Spread your chosen fruit preserves evenly over the pressed dough base. Leave a small border on the edges to prevent the jam from bubbling over the crust.
💡 Pro Tip: If using particularly thick jam, warm it slightly for easier spreading.
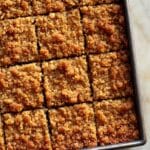
Step 7: Crumble the Remaining Dough on Top
Crumble the remaining one-third of the dough over the jam layer, dotting it in small pieces rather than pressing. This creates that signature crumb topping that adds delightful texture.
💡 Pro Tip: Try to cover most of the jam without completely sealing it to let the fruit peek through.
Step 8: Bake to Golden Perfection
Bake the bars for 25 to 30 minutes or until the top is lightly golden and the jam is bubbling gently beneath the crust.
💡 Pro Tip: Check the bars at 25 minutes and adjust baking time based on your oven’s temperament.
Step 9: Cool and Slice
Allow the bars to cool completely in the pan. Use the parchment paper overhang to lift them out, then slice into squares. Cooling is key to clean cuts and intact layers.
💡 Pro Tip: Chill in the fridge for about 20 minutes before slicing for sharper edges.
Common Mistakes to Avoid
Learn from these common pitfalls:
- Using cold butter: This can prevent proper creaming and lead to dense, heavy bars.
- Overmixing the dough: Too much mixing tightens gluten, making the bars tough instead of tender.
- Applying too much jam: Excess filling can seep out and cause soggy bottoms or messy bakeware.
- Not lining the pan: Makes lifting and serving the bars a frustrating extra step.
- Cutting bars while warm: Leads to crumbly, messy pieces instead of clean, beautiful squares.
- Using thin jam: Watery jam shifts and ruins the crust texture, so always pick thick preserves.
Delicious Variations to Try
Once you’ve mastered the classic version, why not experiment? These variations add exciting new flavors and textures to the timeless thumb bars.
Lemon Curd Thumb Bars
Swap the jam for tangy lemon curd for a bright, citrusy twist. The buttery crust pairs beautifully with the creamy, zesty filling.
Nutty Berry Thumb Bars
Add chopped toasted almonds or walnuts into the crumb topping for extra crunch and a nutty depth alongside your favorite berry jam.
Chocolate Raspberry Thumb Bars
Mix some mini chocolate chips into the dough or sprinkle on top for a decadent flavor upgrade that pairs perfectly with raspberry preserves.
Peach and Ginger Thumb Bars
Use peach preserves with a pinch of ground ginger for a sweet and subtly spicy combination that’s simply irresistible.
Mixed Berry with Oat Topping
Add rolled oats and a bit of brown sugar to the crumb topping for a heartier texture and slightly caramelized finish.
How to Serve Traditional Thumb Bars Recipe
Garnishes
A light dusting of powdered sugar or a few fresh berries on top adds a pretty finishing touch. For extra indulgence, serve with a dollop of whipped cream or a drizzle of melted chocolate.
Side Dishes
Pair these bars with a hot cup of tea or coffee for a simple afternoon treat. They also team wonderfully with vanilla ice cream or a spoonful of yogurt for a comforting dessert.
Creative Ways to Present
Cut into neat squares and stack in a clear glass jar or rustic basket lined with parchment paper for a charming gift or party platter. You can also use small round cookie cutters to create thumb-shaped cutouts for fun finger foods.
Make Ahead and Storage
Storing Leftovers
Store leftover thumb bars in an airtight container at room temperature for up to 3 days. They’ll stay moist and flavorful.
Freezing
Wrap individual bars tightly in plastic wrap and place them in a freezer-safe container for up to 3 months. Thaw overnight at room temperature before serving.
Reheating
Warm bars in a low oven (around 300°F / 150°C) for 5-7 minutes to refresh their crumbly texture. Avoid microwaving, which can make them soggy.
FAQs
Can I use fresh fruit instead of jam?
While fresh fruit can work, it releases more moisture, which may lead to a soggy crust. If you prefer fresh fruit, try cooking it down to thicken before layering.
How do I store thumb bars if I want to make them a day ahead?
Keep them covered at room temperature or in the fridge, ensuring they are in an airtight container to preserve moisture and flavor.
Can I make this recipe gluten-free?
Yes! Substitute all-purpose flour with a gluten-free baking blend, but be sure to check for any adjustments in liquid or binding agents.
What jams work best in this recipe?
Thick, flavorful jams like raspberry, apricot, strawberry, or mixed berry are ideal because they hold up well without making the bars soggy.
Can I double the recipe?
Absolutely! For a larger batch, simply double all ingredients and bake in a 9×13-inch pan with adjusted baking times.
Why is almond extract suggested?
Almond extract adds a warm, nutty undertone that complements the buttery crust and fruity jam beautifully, but it’s optional if you prefer to skip it.
How do I get a crumb topping rather than a smooth layer?
After reserving part of the dough, crumble it gently over the jam instead of pressing to create the signature crumbly, uneven texture on top.
Can I use margarine instead of butter?
Butter offers the best flavor and texture, but margarine can be used in a pinch. Expect a slightly different mouthfeel and less richness.
Final Thoughts
There’s something truly special about a recipe that both comforts and delights with every bite—this Traditional Thumb Bars Recipe does exactly that. Its buttery crust, luscious jam center, and crumble topping feel like a warm hug from the past, perfect for sharing with loved ones or savoring in a quiet moment alone. Whether you’re a seasoned baker or just starting out, these bars reward your efforts with timeless charm and irresistible flavor.
Have you tried this Traditional Thumb Bars Recipe? I’d love to hear how it turned out! Leave a comment below. If you loved this recipe, please share it with friends and family. Happy cooking! 😊
PrintTraditional Thumb Bars Recipe
Traditional Thumb Bars are a nostalgic, buttery classic dessert featuring a tender shortbread-like crust with a sweet fruit jam filling and a crumbly golden topping. This homemade treat is perfect for holidays, bake sales, or anytime you crave a comforting, old-fashioned baked good.
- Prep Time: 15 minutes
- Cook Time: 30 minutes
- Total Time: 1 hour 2 minutes
- Yield: 8 servings 1x
- Category: Dessert
- Method: Baking
- Cuisine: American
Ingredients
For the Base & Topping:
- 1 cup (226 g) unsalted butter, softened
- ¾ cup (150 g) granulated sugar
- 1 teaspoon vanilla extract
- ½ teaspoon almond extract (optional but classic)
- 1 large egg
- 2¼ cups (280 g) all-purpose flour
- ¼ teaspoon salt
For the Filling:
- ¾ to 1 cup thick fruit preserves or jam (raspberry, apricot, strawberry, or mixed berry)
Instructions
- Preheat Oven: Preheat your oven to 350°F (175°C) to prepare for baking the bars.
- Prepare Baking Pan: Line an 8×8-inch baking pan with parchment paper, leaving an overhang on the sides to easily lift the bars out after baking.
- Cream Butter and Sugar: In a large bowl, beat the softened butter and granulated sugar until the mixture becomes light and fluffy, ensuring a tender texture.
- Add Flavorings and Egg: Mix in the vanilla extract, almond extract if using, and the large egg until the batter is smooth and well combined.
- Form Dough: Add the all-purpose flour and salt to the wet ingredients, mixing just until a soft dough forms to avoid overworking the gluten.
- Press Base Layer: Take about two-thirds of the dough and press it evenly into the bottom of the prepared baking pan to form the crust.
- Spread Jam: Evenly spread your choice of fruit preserves or jam on top of the pressed dough, leaving a small border around the edges for the topping and to prevent overflow.
- Top with Crumble: Crumble the remaining one-third of dough over the jam layer in small, even pieces to create a golden crumb topping.
- Bake: Place the pan in the preheated oven and bake for 25 to 30 minutes, or until the top turns lightly golden and the bars are set.
- Cool and Slice: Allow the bars to cool completely in the pan, then use the parchment paper overhang to lift them out before slicing into squares for serving.
Notes
- Using thick fruit preserves helps prevent soggy crust and keeps the layers distinct.
- Almond extract is optional but adds a traditional flavor note corresponding to classic thumb bar recipes.
- Be careful not to overmix the dough to maintain a tender, shortbread-like texture.
- Ensure the bars are fully cooled before slicing to achieve clean cuts.
- These bars can be stored in an airtight container at room temperature for up to 3 days or refrigerated for up to a week.
Keywords: thumb bars, thumbprint bars, shortbread bars, fruit preserves, jam bars, classic dessert, old-fashioned baked goods